5 Tips for Killer Instagram Photos


Disclaimer: This post is not about how to get more Instagram followers or how to become IG-famous. Sure, we all want that, but it takes time to build those things. In my opinion, it all starts with your content and the quality of that content - that’s what keeps people coming back and wanting to see more. How are you delivering those beautiful moments in your life to readers and followers?
Taking a great photo doesn’t just mean putting on a fabulous outfit, getting your makeup and hair ready, and standing in front of a pretty wall ready for your boyfriend or best friend to snap you with their iPhone. If every social media influencer posted pictures looking like that, none of us would care to follow them. Their content would be as exciting as your distant cousin’s that lives across the country who you only follow because you’re not rude AF. Am I right?

So let’s keep this short and sweet and get right to the point. Here’s some tips and tricks I’ve learned along the way and picked up from many different photographers I’ve spent time with in the past. Hopefully you’ll be able to incorporate some of these ideas into your next shoot!
My 5 Tips for Killer Instagram Photos
1. Equipment
I know it’s not easy to drive to the store and drop hundreds or even thousands on a DSLR for the sake of taking nice pictures. You’re thinking, I already spent a grand on this damn iPhone and the camera “is bomb.” Yes, it’s bomb for on-the-go situations. Sure, it will get you by in the beginning. But once you start growing and wanting higher quality photos for your sponsored partnerships, blog posts, media kits, etc, then you’re going to want to highly consider investing in a decent quality DSLR.
I’m by no means a camera expert (I’ll leave that to the hubby), but I do know from spending countless hours at camera shops that there are a lot of affordable options out there. I’d recommend watching some YouTube videos for reviews on ones within your budget, and then even searching on reputable used camera websites when you’re ready to purchase. Remember, you don’t have to break the bank, but if you’re serious about eventually turning social media into salary, then you’re going to want to consider investing. Just like in any other job. (It takes money to make money!)
2. Shooting
Always shoot in RAW. Shooting in JPEG compresses your photo and that’s why it comes out with underwhelming quality. Editing a JPEG is going to make look even worse and over-processed. Save yourself the frustration and shoot RAW. Shooting RAW means your photos stay uncompressed and keep all their details, giving you the highest quality pixel-for-pixel, especially when editing.
Shoot vertically (portrait orientation). If you don’t, at least make sure you give yourself enough space in the frame to allow for cropping vertically. Here’s why: Now that IG lets you post photos in either portrait or landscape orientation (bye sad square life!), your photos take up a larger span on someone’s screen. When a person is scrolling through their feed, your vertical photo (I always crop to 3x4) takes up their entire screen. It’s like BAM - LOOK AT MY PICTURE! A horizontal photo is nice for showing off the whole background, but it only takes up a portion of someone’s feed and it’s easy to scroll right past it without zooming in to see how gorg your outfit was. Go big or go home.
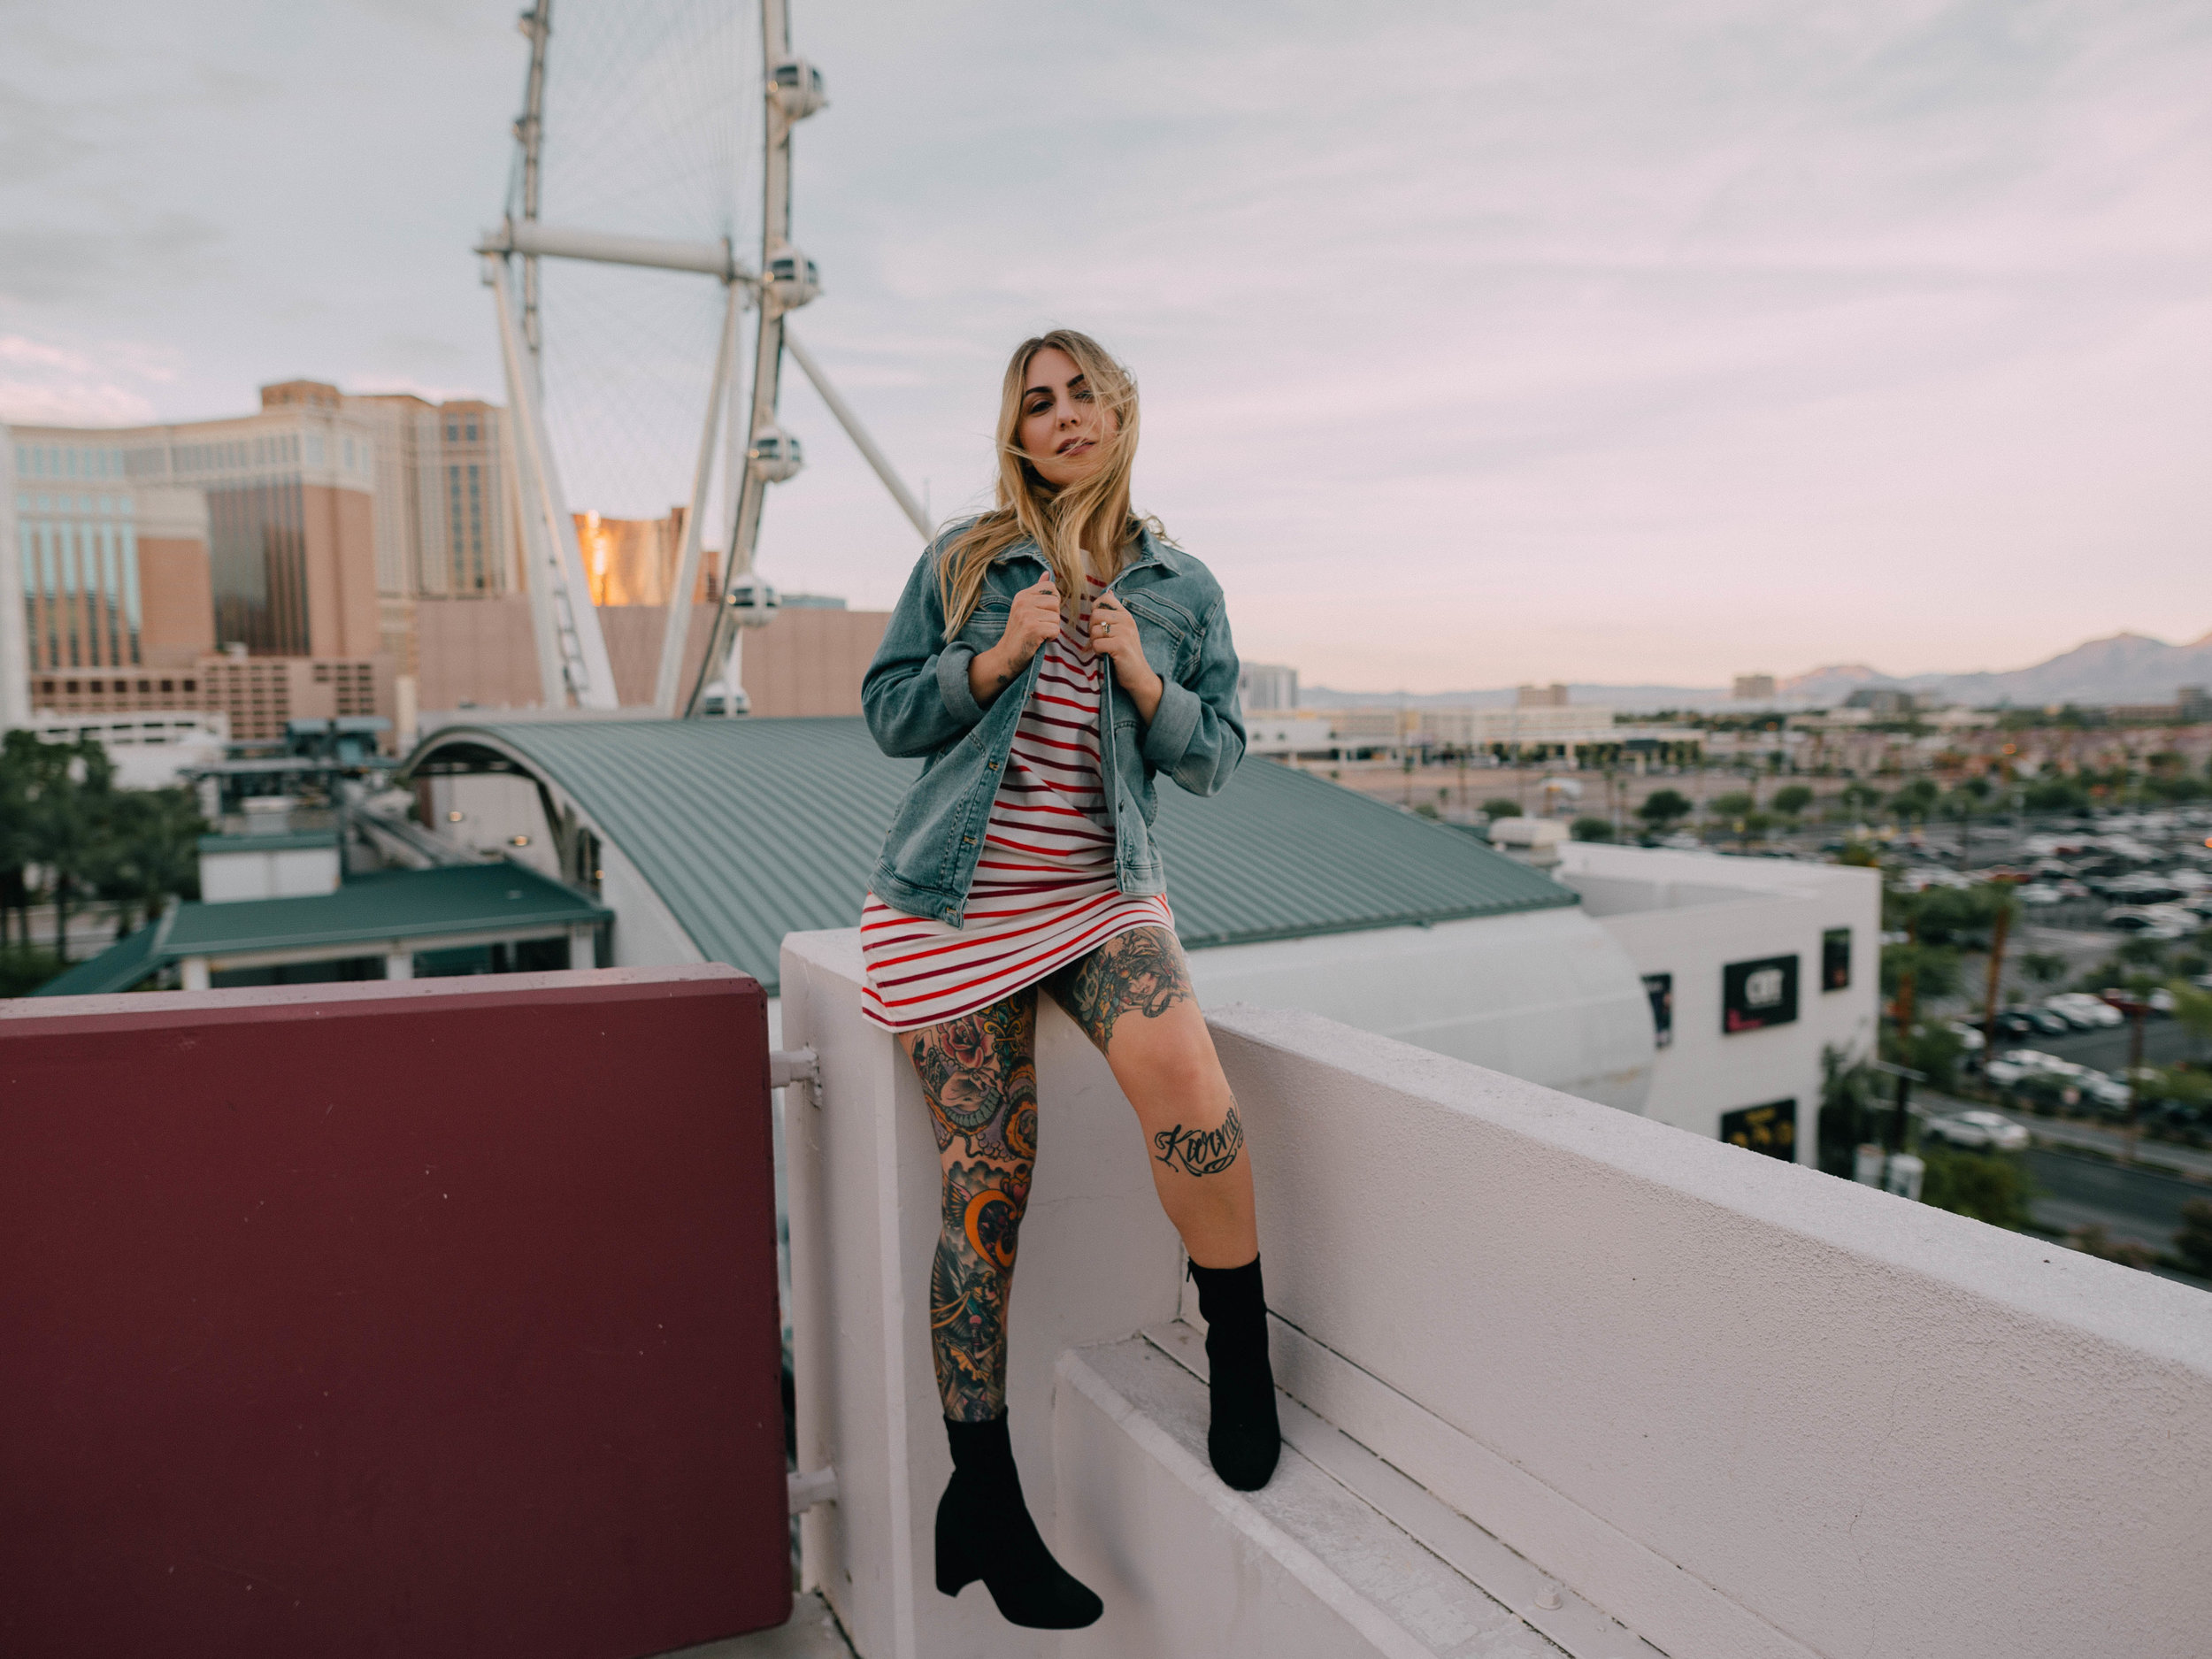
Go outside. I’m serious, walk outside and shoot in the natural lighting. I get it, sometimes you need to shoot something indoors, but when you have the option then pick natural lighting. Everything’s going to look better. Don’t stand in direct sunlight - try to find a semi-shaded area because it’s easier to bring up exposure during editing than it is to take it down. Oh yeah, and golden hour is queen of lighting. Small window of time for shooting, but totally worth it for the gold glow you end up with.
3. Posing & Props
FIRST OFF ~ For the love of everything good in this world, please do all your friends a favor and stop taking selfies. We know what you look like. The only difference I see in your daily selfies is how much older you’re starting to look. STOP! Ok, rant over.
If you want a great picture, you’re going to have to put some thought into it. As sad as it sounds, the majority of all those Pinterest-worthy photos you see on Instagram are staged and took a long time to prepare. Remember that it usually took a person about 20 tries to get 1 picture that’s worth posting. Maybe even more. Keep trying, and don’t settle for an almost-perfect shot. Take it seriously and you’ll reap the rewards in the long run.
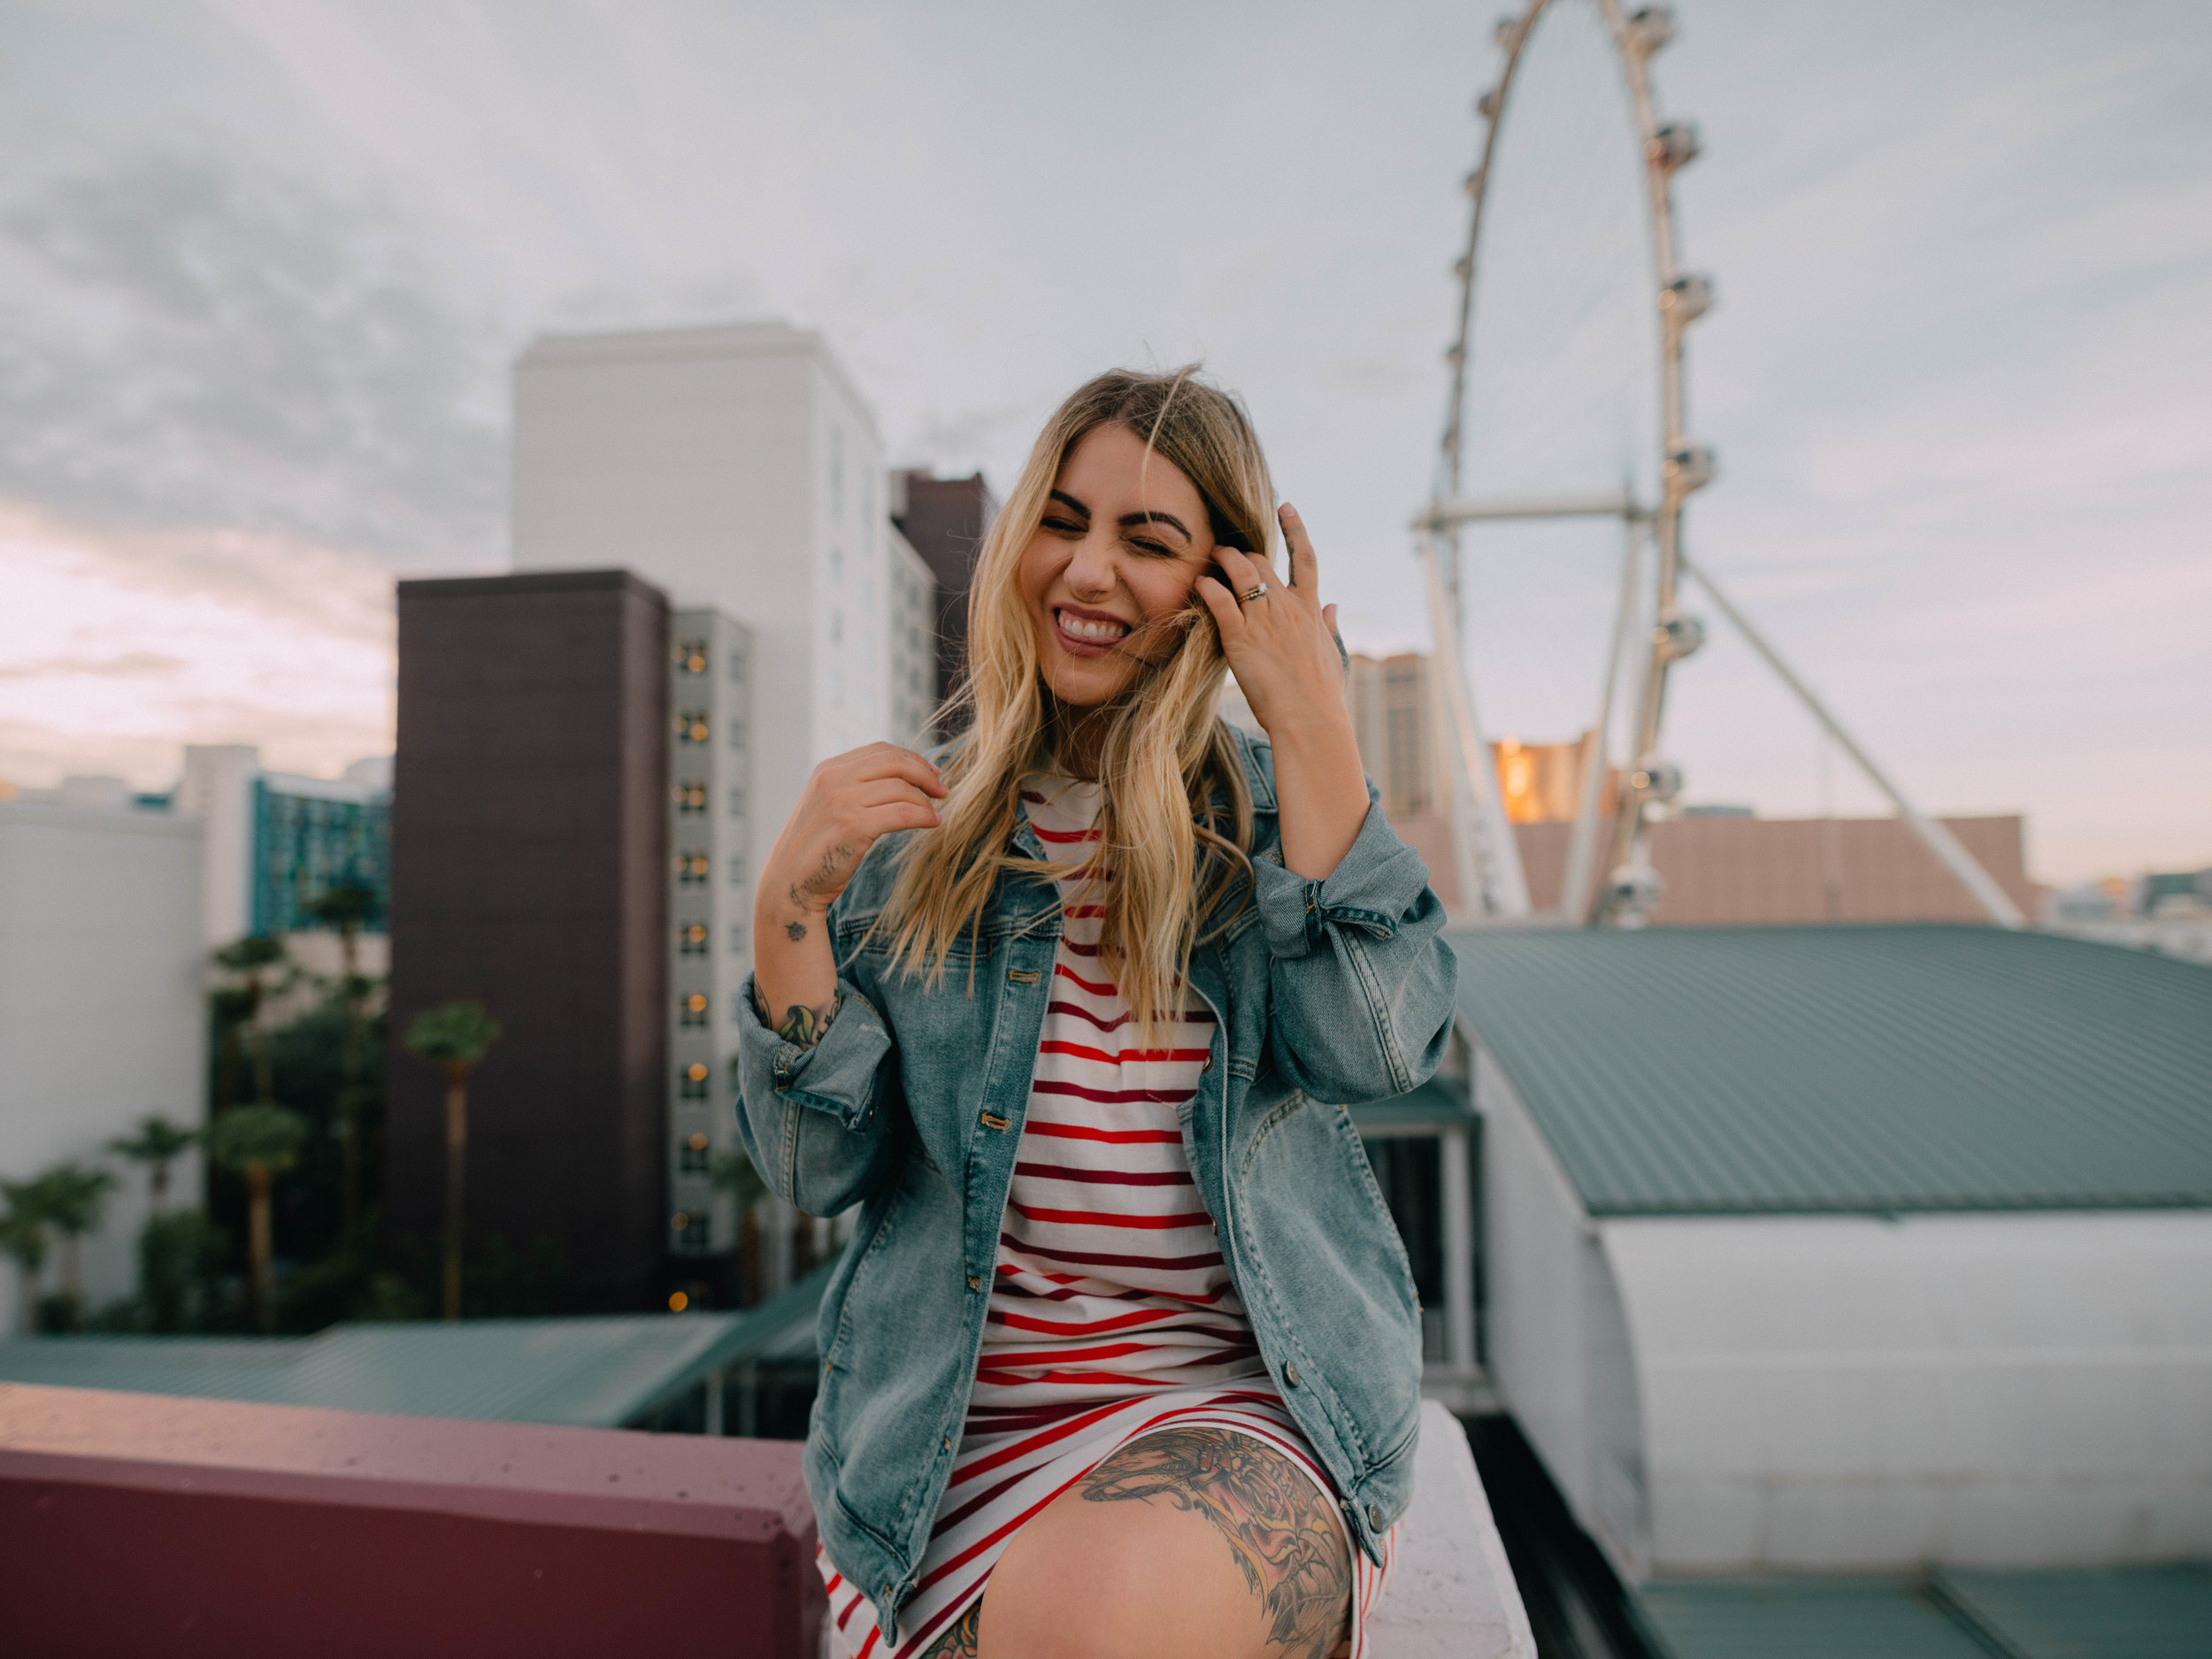
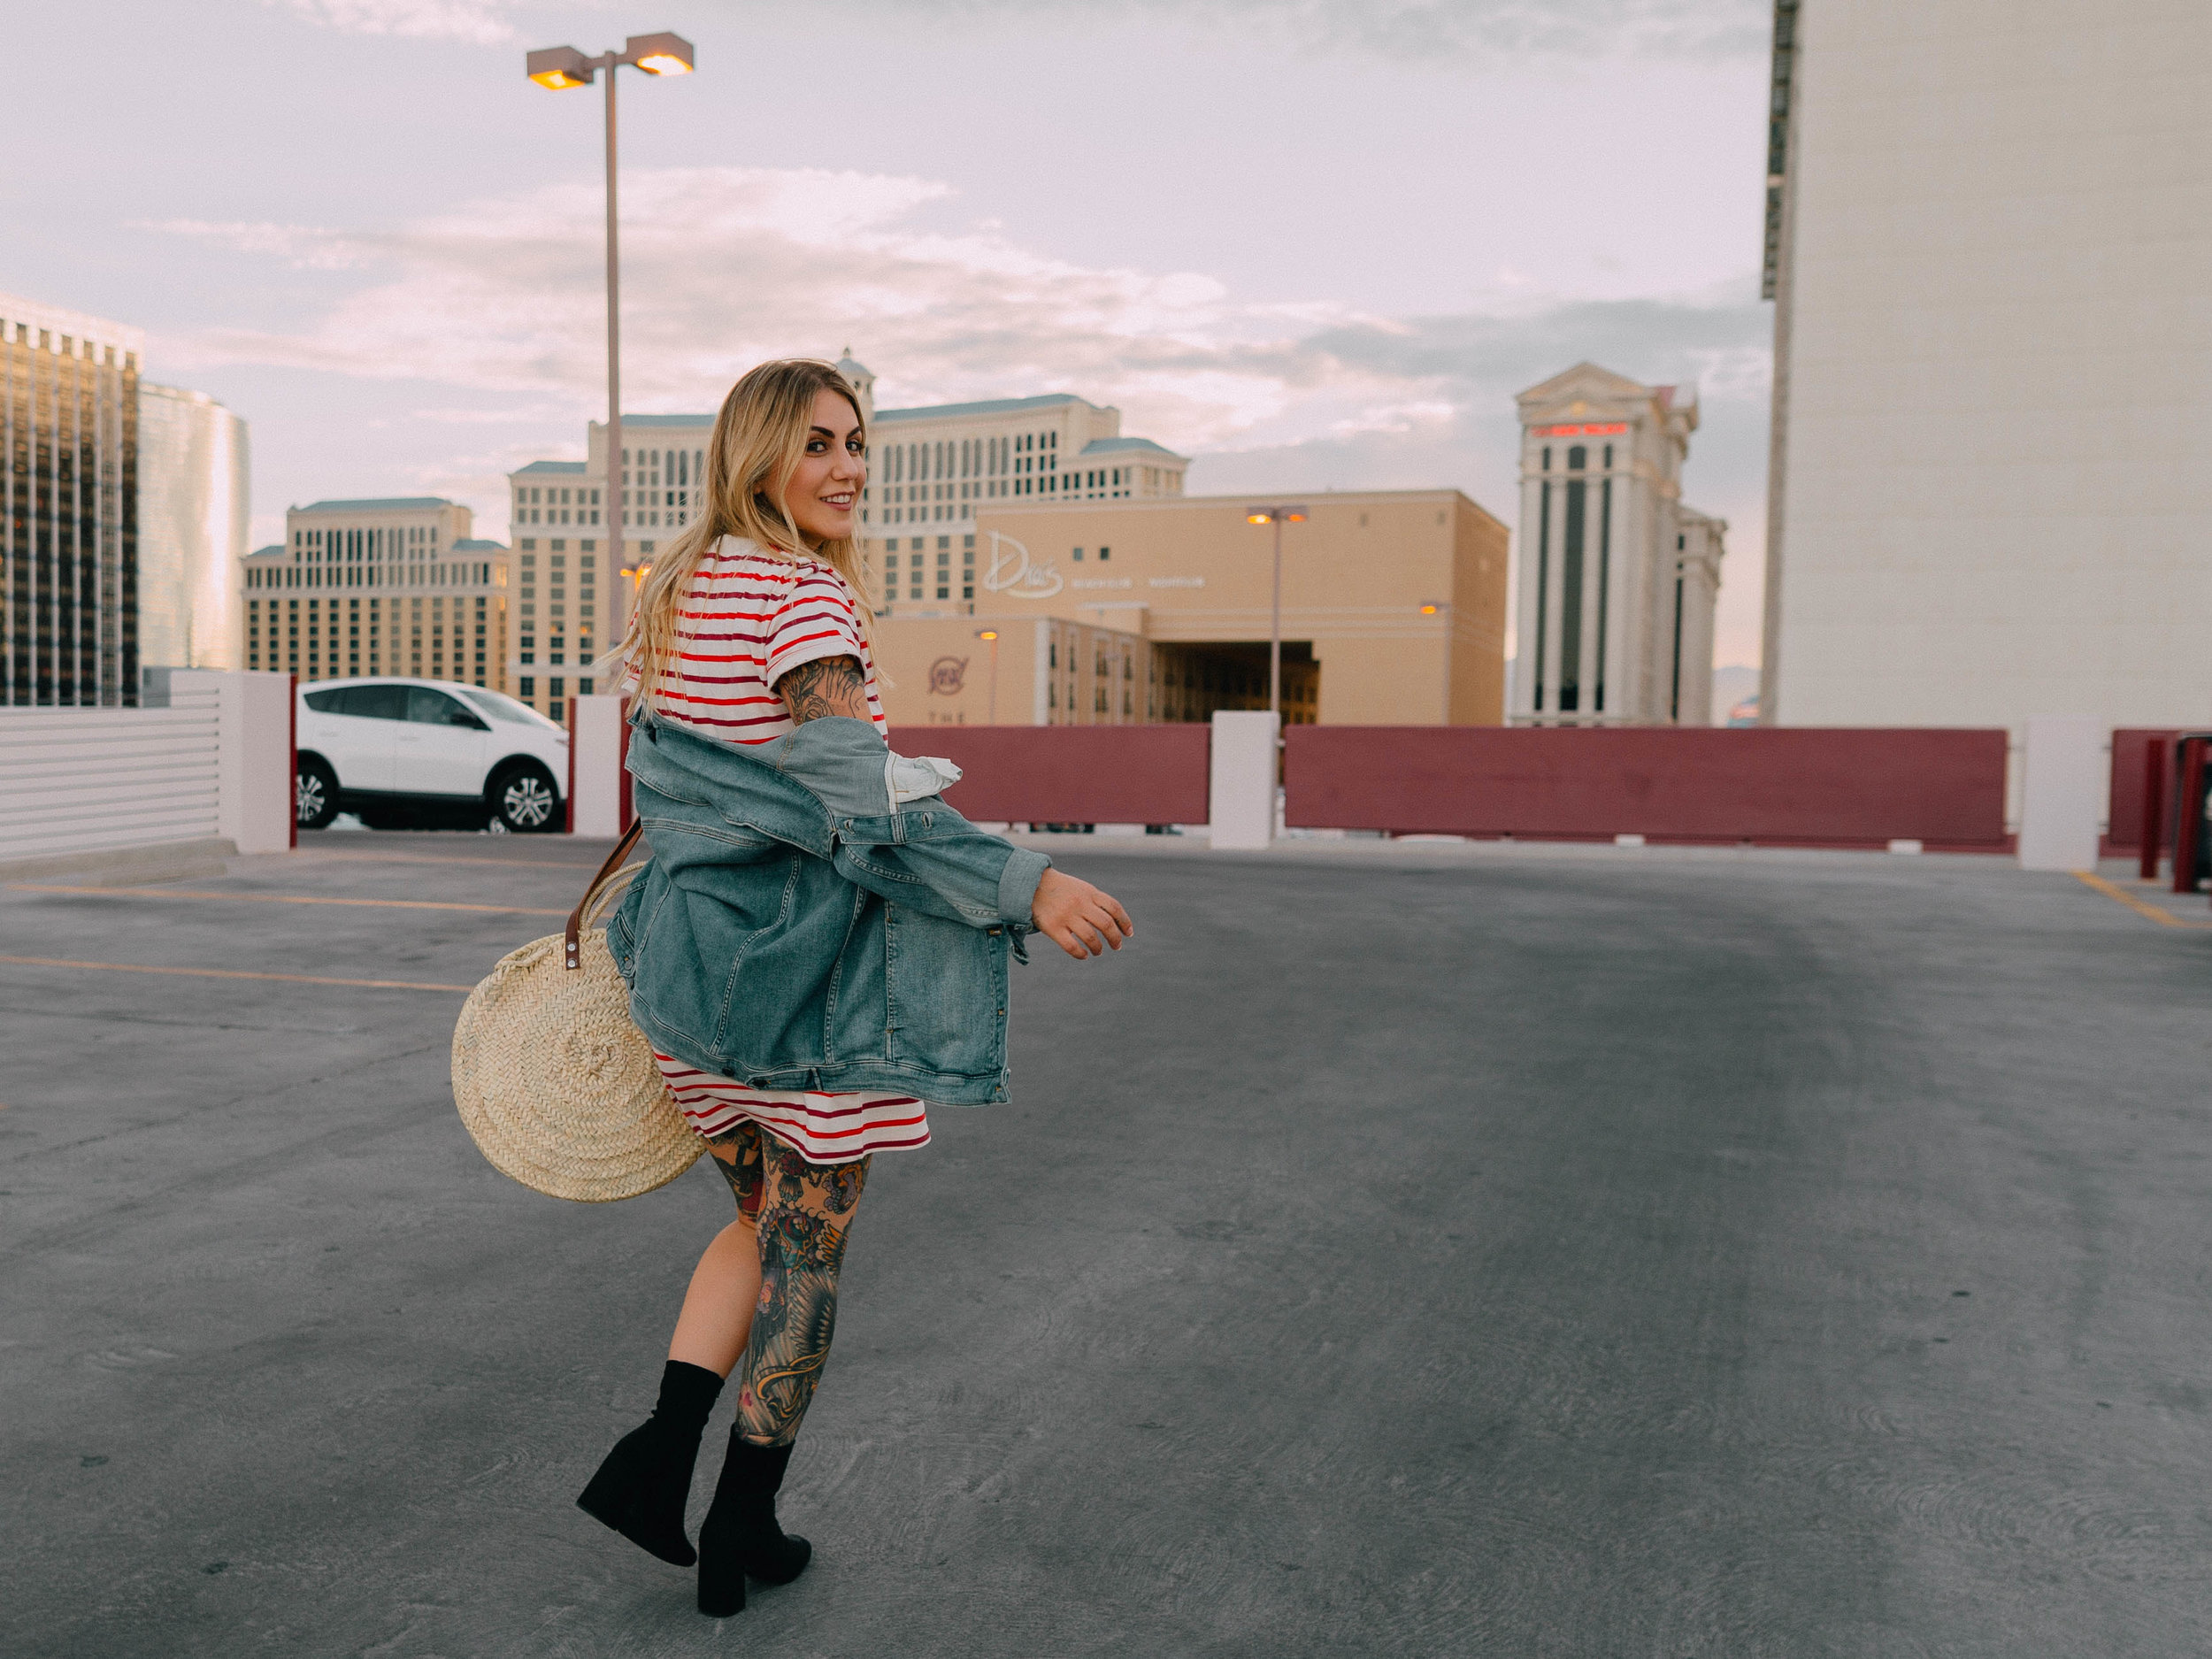
Everyone is different, but I personally love photos that appear to be candid rather than perfectly posed. Sometimes the ones where you’re standing there staring at your photographer end up looking like a deer in headlights. They don’t have any life. Instead, add some movement to your photos. Strut, walk, jump, laugh, turn around and look back at it. Whatever you need to do to convey a message of life. Study your favorite influencer’s feed for some ideas, or even some fashion sites. Here’s my secret ~ I love how Sezane markets their clothing on their website. All their photos have a lifestyle feel to them and appear to be caught right in the moment. Use those for inspiration if you have to!
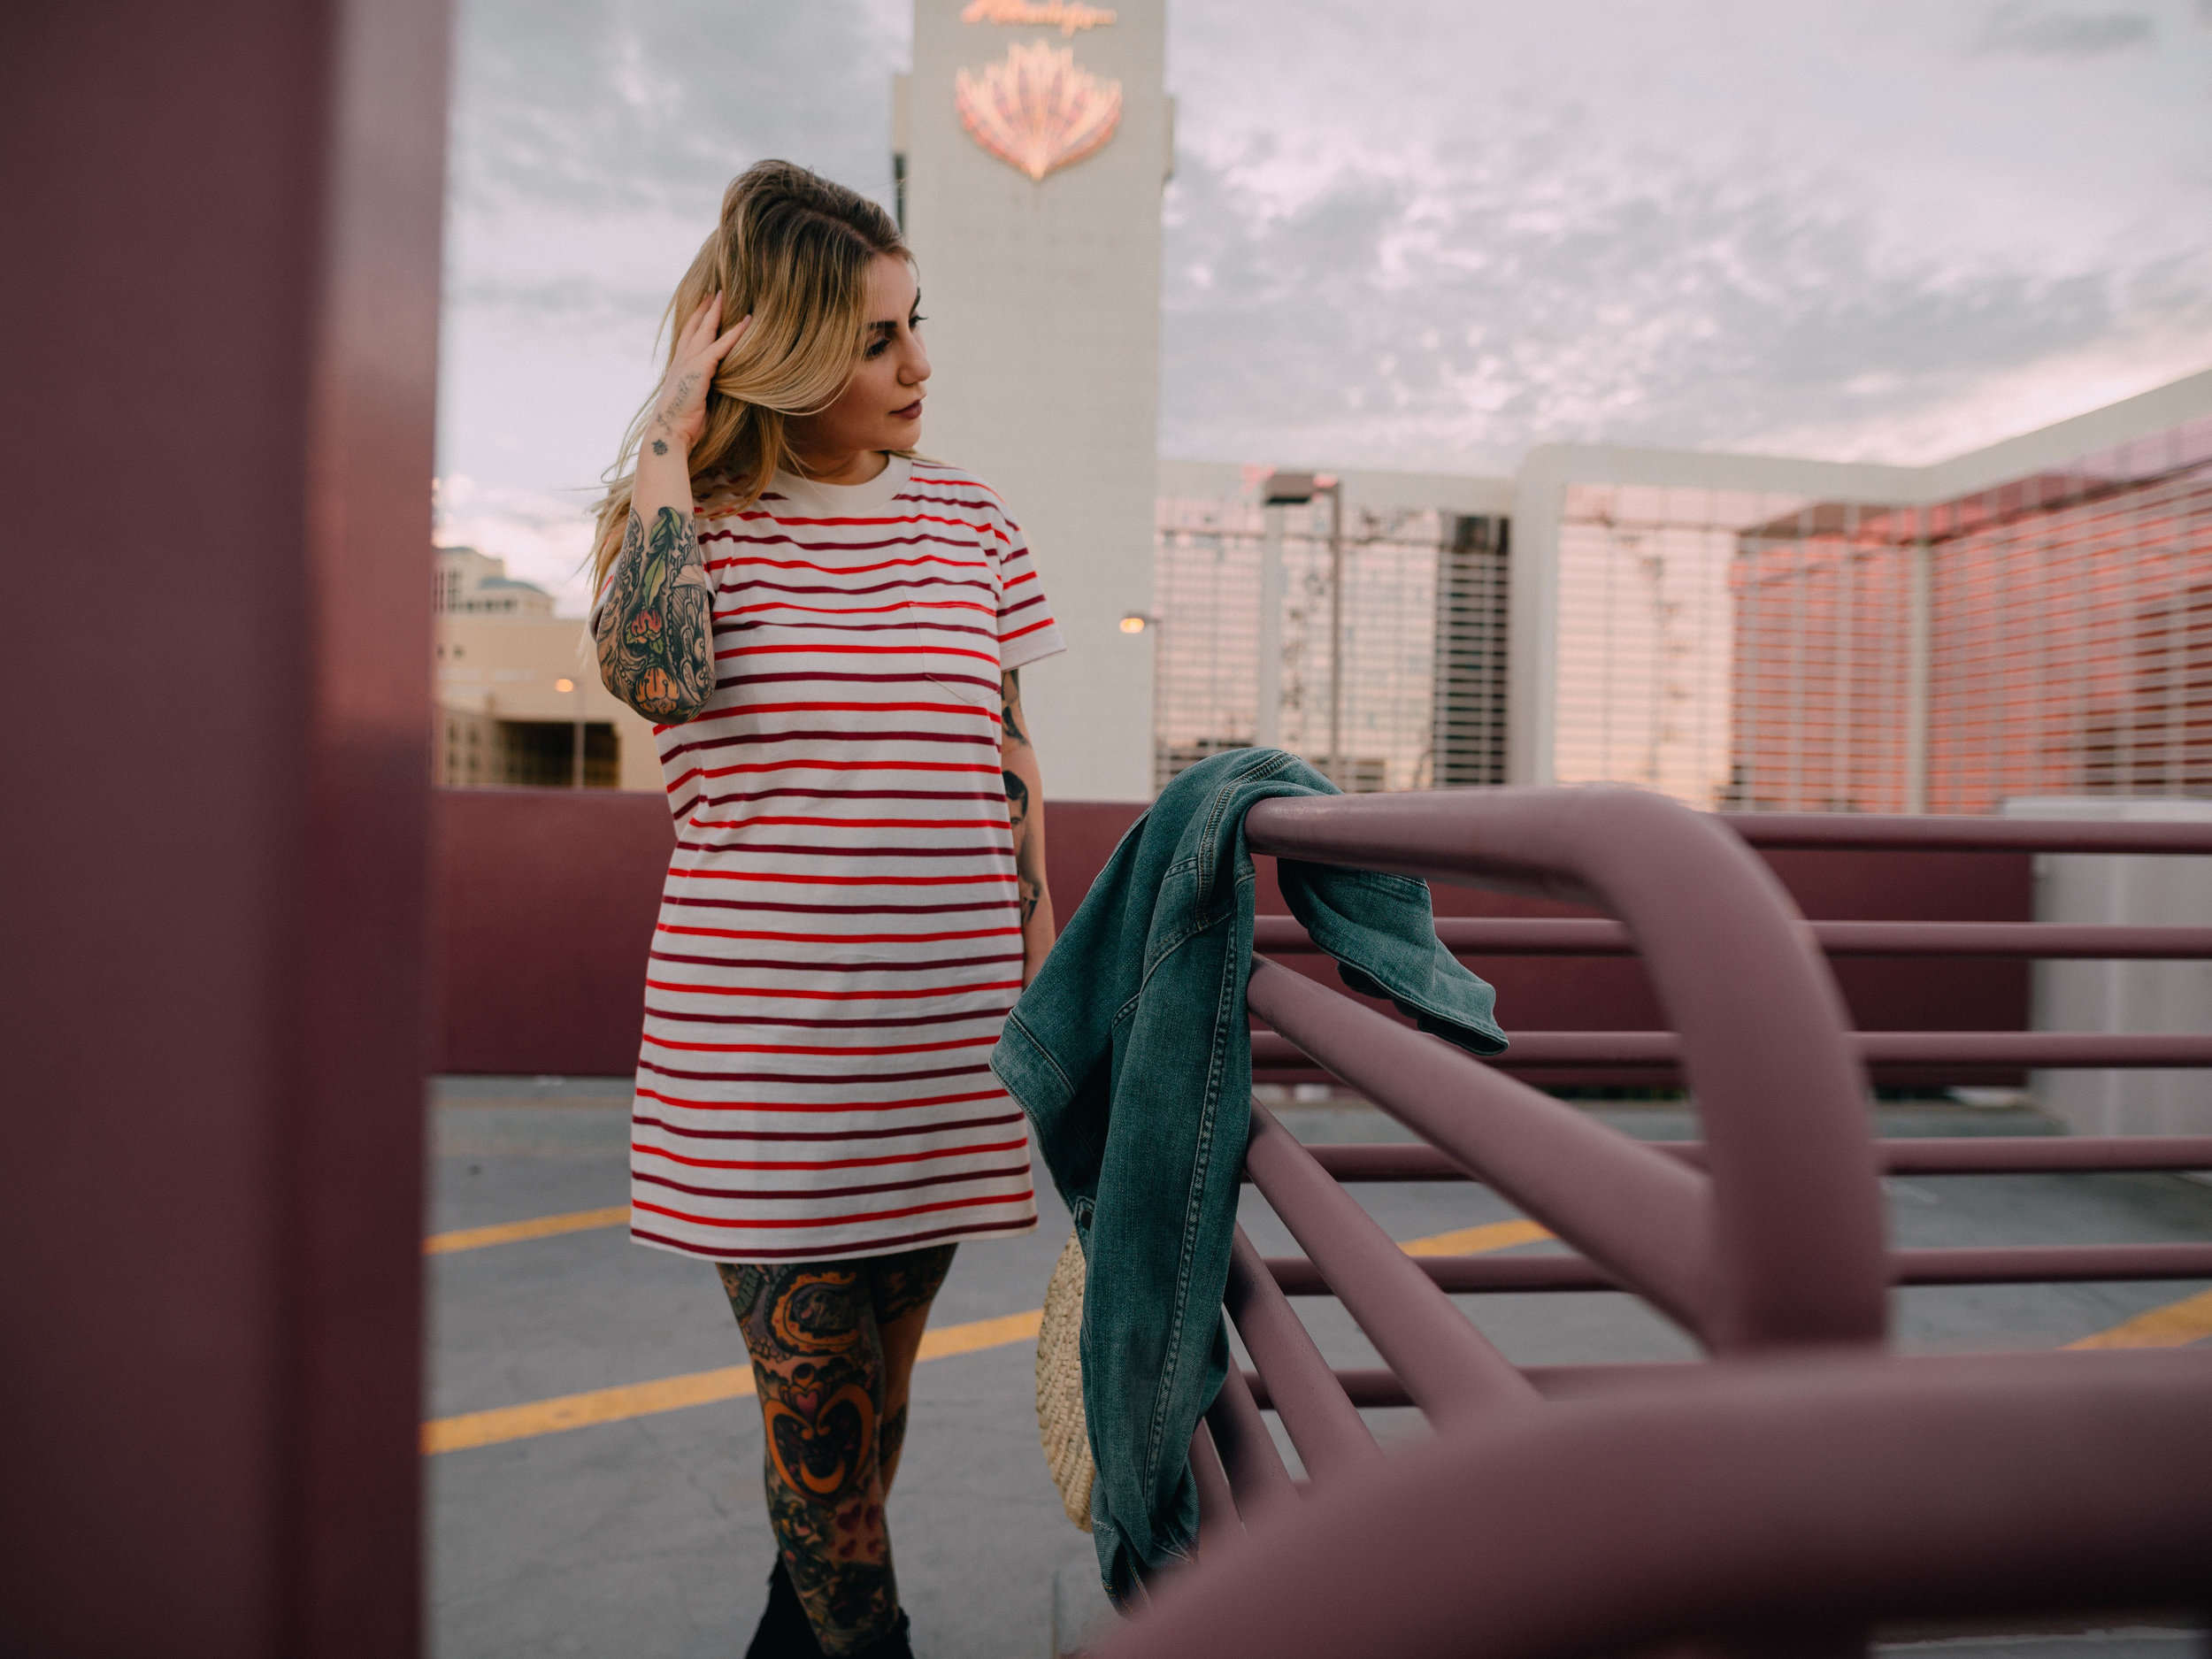
PROPS are also going to be a life saver. It’s infinitely easier to pose naturally when you have something in your hand or beside you to interact with. Take a purse, a drink, a hat, or some flowers with you on your next shoot and try it out. You’ll notice how the content just seems to flow better than when you’re standing there with idle hands.
4. Location
This one’s kind of basic, but it’s worth mentioning. A lot of people (including myself) spend too much time focusing on the location of their shoot. I’m here to tell you that it’s not completely necessary. It’s not a waste of time, either, but you can feel definitely get away with focusing less energy into it. A lot of my favorite influencer’s pictures were taken in front of everyday places, like storefronts, plant nurseries, coffee shops, steps… you get the idea. Sometimes the best spots are just right around the corner, so try to think outside of the box!


Honestly, it’s more about how you interact with your environment than it is the environment itself. Now of course, if your goal is to jump into travel niches, then location’s going to play a major role in your content. But for anyone else who focuses on fashion and/or lifestyle, let location be exactly what it is - just a background to your content. You can totally spend some time seeking out great spots if you’re looking for specific colors or textures/depths, but don’t feel like you have to dedicate hours and entire days to scouting out the “perfect” location. Work with what you’ve got and let the story you’re telling with your photo speak for itself.
5. Editing/Preview App
My favorite part! VSCO, Snapseed, and Lightroom Mobile are fine for starting out. But once you pay for a subscription to Adobe Lightroom (desktop version) and learn the basics, you’ll start to see a huge difference in your editing skills. It’s really worth the investment you’re looking to take your photography and edits to the next level.
There are so many resources available for you to learn how to navigate and use Lightroom. I am far from well-rounded in it, and I’m always learning new things. Once you have the basics down, I would recommend finding some presets that you like and using them as a starting point for editing your photos. In general, you should always look at a preset as a guide or baseline for your own version, not as a one-and-done to slap on every picture.
A lot of presets are available for free and others are very affordable. I know a lot of influencers push their own presets for sale, but personally, I have found those to be a bit too pricey. And honestly, no one wants to be copying someone else’s creativity. What a lot of people tend to forget is that an influencer will create a preset that works for them and their own style of photography. You have to keep in mind that everyone is shooting on a different device, with different lighting, locations, skin tones, wardrobe colors, etc. What works for one person’s feed aesthetic will not always work on yours. That’s why it’s better to tweak one that you like to make it original and complimentary to your own personal style. Just sayin!
If you learn nothing else on Lightroom, at least learn these features:
Exposure
Contrast
Highlights / Shadows
Whites / Blacks
Individual color saturation and luminance
Those alone can be a huge game changer for your photos.
Once you’ve got your editing down, it’s time to figure out how you want to present your photos to the world. I have the craziest OCD and I’ll over-think the way everything looks. Even though a picture might be amazing and get great engagement, I’ll still sometimes go back and delete it from my feed because it just isn’t cohesive with the look I’m going for. Bummer, but it is what it is.
In order to avoid situations like that, I would suggest downloading a feed planning app. The one I use is called Preview. It’s super basic (and free), which is why I love it. It loads your current IG feed and you just upload all your new pictures to it. It allows you to play around with the order of your photos by dragging them into place to come up with something that you love and that shows off all the hard work you put in.
And there you have it! Phew… A lot of work for one picture, but once you get the hang of it then it all goes a lot smoother. You’ll start to think about photos in a more creative way and you’ll be able to frame things out in your mind ahead of time. I hope these tips work out for you guys and help you put out the best version of your work!
SHOP THIS POST:
